
Did you know that the Moka pot – the tiny octagonal brewing pot for your coffee that promises big flavor – is the reason behind so many of our kitchen utensils being made of aluminum? In fact, the Moka part is often considered one of the most influential inventions in the coffee industry, if not the entire kitchenware scene.
The stove-top coffee maker was invented by an Italian metal machinist from Piedmont named Alfonso Bialetti in 1933. The design of the pot was curiously inspired by old washing machines that used a heat source to boil a pail of water causing it to rise to the top of a tube that could be aimed at the dirty laundry. (Source)
In the case of the Moka pot, instead of dirty laundry, the rising hot water passes through coffee grounds, of course. Bialetti’s invention became popular for both its revolutionary design and incredibly delicious coffee. The word of the magical eight-sided coffee maker spread far and wide, and kitchenware industries started to take notice.
It wasn’t long after that aluminum became one of the most-seen materials in kitchens and cafes across the globe. Almost a century later, even though the Moka pot technology has advanced significantly from aluminum to stainless steel, Moka pots are still a loved household item.
As interesting as its history and as wonderful as the coffee may very well be, the one thing that always perturbs me about the Moka pot is the inconsistency of the brew produced.
When done right, my Moka pot grants me one of the best espresso coffees I’ve ever had in my life, but just the slightest mistake and it ends up tasting like my spoon.
Completely tired of this love-hate relationship I had to maintain with my Moka pot, I decided to resolve the dispute once and for all by studying everything I could about how it works and what I could have been doing wrong.
Are you also fed up with your Moka pot coffee being absolutely mouth-watering one day and extremely bitter or metallic-tasting the other? Read on to find out how to get your Moka pot to only make the most delicious cuppa.
Moka Pot Coffee Over Extraction
Before we get to the solution, let’s talk about the “why” and “how” of it. A Moka pot is a simple mechanism made up of three parts – the boiling chamber for water, the central filtering basket for coffee grounds, and the top chamber with a tube that sends up the concentrated coffee extract into the main pot.
In simple terms, the water which is stored in the bottom part of the Moka pot travels through the coffee grounds taking on their flavors, taste, and aroma, and settles down in the top half. It is a fairly simple and efficient process, however, sometimes it doesn’t quite work perfectly and ends up producing bitter coffee.
One of the main reasons for your coffee tasting ghastly is over-extraction, which literally means that the water is pulling out too much of the coffee flavor from the grounds.
And as we all know, too much coffee is can be a tad harsh. The best way to avoid over-extraction is to use pre-boiled water so that your coffee grounds don’t sit on the stoves for too long, ready to lash out all their bitterness.
When you put heated water in the bottom chamber, you minimize the time the Moka pot spends on the stove, thus making over-extraction impossible. Alternatively, if you use room temperature water, you should brew your coffee at high heat.
I would usually not recommend the latter option unless you have loads of practice getting the timing right. Basically, the key to great Moka pot coffee is timing.
Another slightly unconventional method of avoiding over-extraction is to wrap a cold towel around your coffee pot to rapidly cool it down after brewing. Since Moka pots are made of metal and get very heated on the stove, over-extraction can occur even after you remove the pot from the heat.
The cold towel helps to quickly cut-off brewing and stops the metal pot from burning the coffee. The cold towel is not necessary, but I find it to be a neat hack.
How long should making coffee in a Moka pot take?
When using pre-heated water, the Moka pot should be placed on the stove on low heat for about 5 minutes. The trick is to not let the water boil in the stove-top coffee maker, but heat it just enough to force it to rise through the pipe.
If you are using room temperature water to make your Moka pot coffee, do not heat the pot for more than 10 minutes. Do remember to watch the pot carefully and remove it as soon as you feel the water is about to start bubbling. The cold towel trick works wonders with this method!
Does the Moka pot have to be full?
Whether it’s the water or the coffee grounds, the Moka pot works best when it is filled up to the indicated quantities. This is where the simplicity of the mechanism comes into play. If you follow the instructions carefully, you will seldom go wrong.
The water should be filled up to the bottom of the safety valve (this is a steam release valve that allows vapors to escape and stops the pot from getting so pressurized that it blows up) regardless of the number of cups you are making.
Similarly, the coffee grounds should be packed into the filtering basket, although tamping is not necessary and should be avoided. Simply flatten the mound of coffee with your finger and let there be air gaps for the water to pass through.
How to Use Your Moka Pot for Better Tasting Coffee
Once you understand how the mechanism works, it is pretty easy to get moka pot coffee right every single time. Simply follow the below instructions and enjoy a fragrant cup of magical coffee on me.
Step 1: Grind your coffee.
Step 2: Preheat your water up to the point of boiling. Then, pour it into the boiling chamber all the way to the top of the steam release valve.
Step 3: Fill up the filtering basket with your coffee grounds. They should ideally be loosely packed to allow for water passage.
Step 4: Place the basket on top of the water holder followed by the actual pot. Be careful while doing this as the water chamber will be hot.
Step 5: Place the pot onto the stove on medium heat.
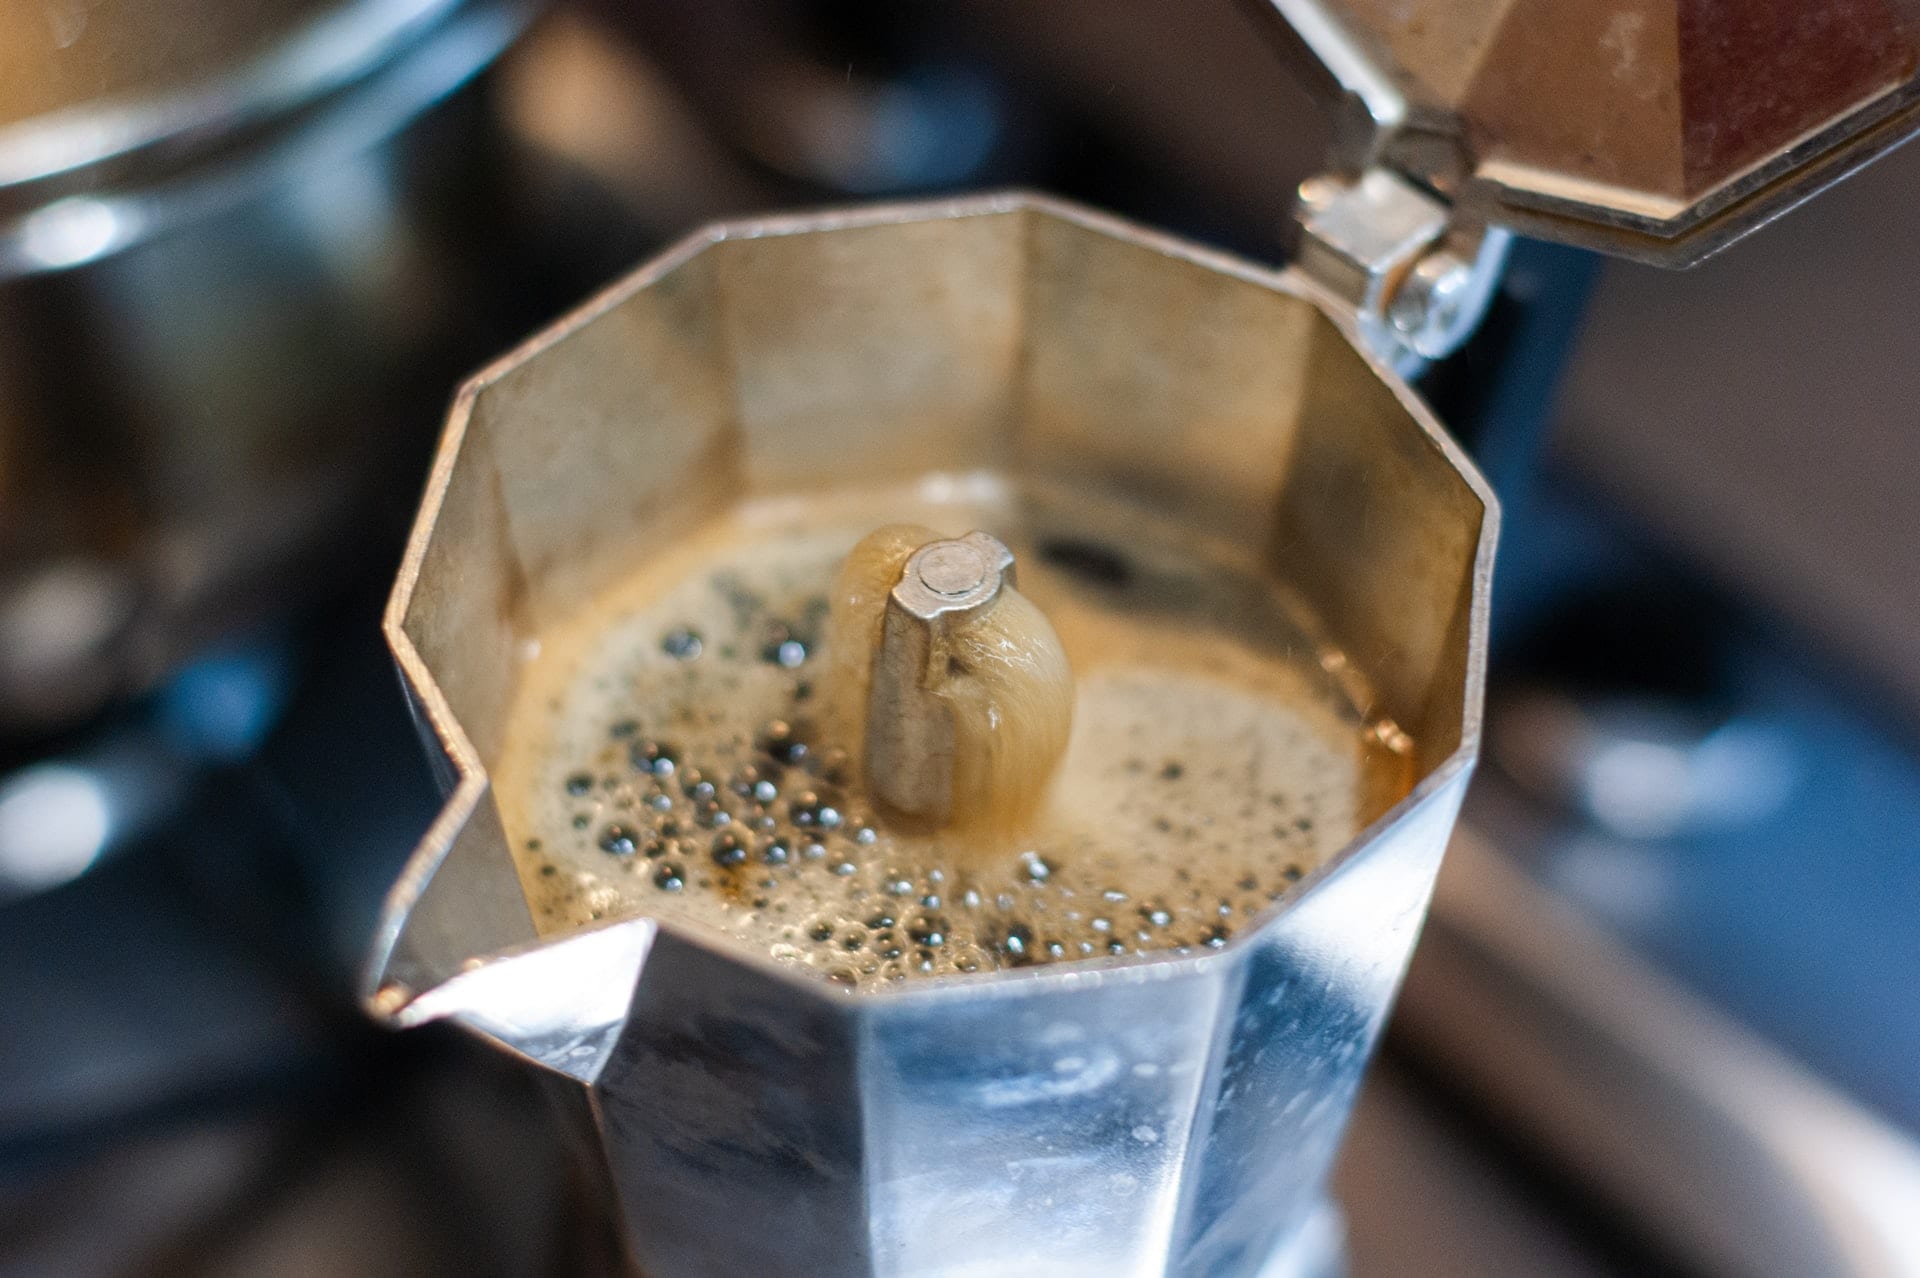
Step 6: Watch and wait for the golden syrup to come trickling up into the pot.
Step 7: Pour yourself a nice big cup and enjoy the fruits of your labor.
Moka Pot Water Temperature
The water you use to make your Moka pot coffee should be heated only till you see tiny bubbles rising up. If you are using electric heat, turn it to the moderate heat setting and switch it off just before the water starts to make some movement.
If you want to put a number on it, the water should be heated between the 90-95 degree range – nothing more, nothing less.
Best coffee beans for Moka pot?
As fellow coffee lovers, we all know the value of quality coffee beans. The same theory works for a Moka pot coffee as well. The finer your coffee beans are, the better your cuppa will taste.
With regards to flavor profiles, Arabica has a smoother taste and thus works better in a Moka pot. However, if you prefer the taste of robusta, you can most definitely use that in a Moka coffee pot.
I would just be more mindful of the brewing process and make sure that over-extraction does not occur – over-extracted robusta is the stuff nightmares are made of.
Best Roast for Moka Pot
The roast of the coffee beans, ranging from light to dark, is determined by the length of time the beans are cooked or roasted, with dark roast indicating the maximum time.
In my personal experience, medium roasts tend to taste the best when brewed in a Moka pot.
How to Grind Coffee for Moka Pot
Most of the information that I found suggested using slightly coarse coffee grounds.
According to Homegrounds, the “typical finer grind that is perfect for espresso is not always a great choice for the Moka pot”.
Ideally, your grind should be slightly coarser than espresso but finer than that for a French press.
Here are some additional tips to help you along the way:
- Listen to your Moka pot!
If the rhythmic gurgling sound changes to energized gushing of water, you have overheated your coffee, and disaster is about to ensue.
- Always store your Moka pot dismantled.
This stops the mechanism from aging too quickly.
- While you are waiting for your coffee to brew, do this…
Pour some of the leftover hot water into the cup and empty it out just before pouring the coffee in. This will make your cup nice and snug for the coffee.
- Don’t let the coffee cook!
This is perhaps the most important one – no matter what type of coffee beans, grinder, or brewing method you are using, if you let the coffee sit in the heat, it will most definitely become bitter.
Cleaning Your Moka Pot
One of the things that people often overlook about moka pots is the cleaning aspect.
Over time, the coffee oils and micro-grounds start to build up in the dingy, dark corners of your Moka pot. While these may not be too harmful to ingest, they do affect the quality of coffee your stove-top coffee maker produces.
Therefore, it is very important to thoroughly clean your Moka pot after every use to ensure its longevity and continual production of delicious coffee.
Method to Clean
Thankfully, cleaning a moka pot is as easy as 1-2-3. Perhaps, also a 4-5-6 if you are as particular about it as me, but it is a fairly hassle-free job that does not take up too much of your time.
Here is a quick and easy step-by-step cleaning method to help you get your Moka pot ready to go for the next cuppa:
Step 1: Throw away the leftover ground coffee and empty the basket as well as the bottom chamber completely. Always check to make sure that no crumbs or obvious stains are left behind.
Step 2: Take the rubber seal out and clean the filter in the top chamber every time. I’m always surprised by the amount of coffee dirt I find hiding up in there.
Step 3: Wash every part of the Moka pot separately. This step needs to be done by hand by gently scrubbing each part with a soft, soapy sponge.
Do not use abrasive cleaning sponges or put your Moka pot in a dishwasher, especially if it is made up of aluminum. You don’t want to accidentally scrub off the coating on aluminum Moka pots that keep your coffee from taking on a metallic taste.
After rinsing, don’t forget to check the parts again for any stains or dirt you might have missed.
Step 4: Pat the parts of your Moka pot dry with a kitchen towel or leave them out to dry on a mat before storing them or putting them back together.
Moka pot deep clean
For a deeper clean and to descale your Moka pot – and I would suggest you do this at least once in two weeks – simply “brew” some fresh lime juice mixed with vinegar (1 tablespoon of each) in your pot instead of coffee grounds.
Let the brew sit in the pot for about 2-4 hours. Over time, the lime juice and vinegar will break down any tough stains and open up your Moka pot instantly. Do remember to repeat the washing process after you lemon brew too.
Does cleaning your Moka pot affect the taste?
There are some online articles that suggest not cleaning your moka pot too much and just letting it sit in the residual coffee oils.
That’s not a great idea at all.
In my personal experience, the more residue there is in the Moka pot, the more burnt my coffee tasted. The leftovers from 20 or 30 coffees ago, stewing in your Moka pot can go rancid and also impart bitter flavors into your brew.
Final Thoughts
So, there you have it – everything that may be going wrong as you brew your coffee in a moka pot and all you need to fix it. I hope that this is helpful in mending your relationship with the moka pot, just like me, and enjoy coffee at its historical best.
If you have other tips on making moka pot coffee, just preparing for the spectacle or even cleaning it, do share them with me and all the fellow coffee lovers reading this. Let’s bring back the revolutionary moka coffee pots together!