
The perfectly textured milk is a matrix with millions and millions of tiny little bubbles called micro-foam. Even though your goal is to achieve a small bubble structure, you shouldn’t be able to see any visible bubbles.
Why is my frothed milk bubbly?
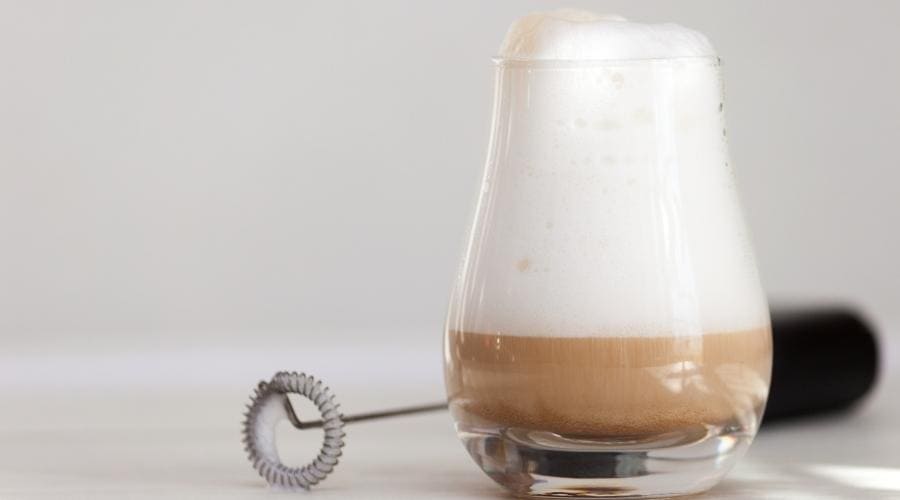
The surface of the milk should be a shiny, glossy like a happy appearance of wet paint. It should pour evenly; hard to tell where the foam ends and the liquid begins. It should not have any visible bubbles.
In this article, I’ll dive deeper into all the reasons why your frothed milk is bubbly and provide practical tips to avoid the issue.
Real Reason: Fats and Proteins in the milk
The full-cream milk forms large bubbles. Skimmed milk (less fat content), on the other hand, produces tiny bubbles and retains the micro-foam structure better. How? Why?
When you inject air into the milk, the proteins called caseins surround the air molecules to form bubbles. The caseins protect the bubbles from bursting.
But over time, the walls of bubbles weaken, merge to form large bubbles, and eventually collapse. So the key to getting a perfect micro-foam is to prevent the tiny bubbles from forming large bubbles.
So far so good, but how do fat molecules influence the formation of large bubbles?
The fat molecules attract the milk proteins (caseins) in full-cream milk. So they cannot bind with air molecules. Meaning, the fat molecules prevent the proteins from protecting the air molecules, therefore weakening the air bubbles.
As a consequence, the tiny air bubbles will merge to form large bubbles and fade away.
On a separate note, full-cream milk creates large bubbles and less stable foam as compared to skimmed milk.
So, in simpler terms, the fats and proteins determine the bubbles in your frothed milk.
How to avoid bubbles in frother Milk?
Tip 1: Proper aeration
Do not aerate the milk too much or too little. Aerating it too much will either create large bubbles or make your milk chunky (or too foamy).
Sometimes it will also cause the milk to spray everywhere.
How long should you aerate? About 3 seconds is the recommended time.
Tip 2: Temperature
Heat your milk to the right temperature. The correct temperature is between 60 and 65 degrees Celsius. If you overheat the milk, you will create large bubbles.
Tip 3: Always use fresh milk
Fresh, unused milk is the best. Re-steaming or re-heating weakens the proteins and forms big-sized bubbles.
Tip 4: Volume of milk in the pitcher
Fill the pitcher or jug only to a depth of 1 cm from the bottom. If you underfill your pitcher, the milk will start spinning wildly and going out of control. If you overfill your pitcher, the foamy parts swell out.
Tip 5: Water content in the milk
In short, if the milk is watery, it forms large bubbles.
How does this happen? Milk proteins are hydrophilic (attracted to water). Increased water content attracts more proteins. And so, very few proteins are left to protect the air bubbles.
Tip 6: Start when cold
Always start frothing when your milk is still cold. Cold milk takes on air better. You get more time to work through it.
A bonus tip is to store your pitchers in the fridge. Ideally, the pitcher and milk should be at the same temperature.
Tip 7: Bring the machine to a steaming temperature
How to find out if the coffee machine has reached steaming temperature? Calculate how long it takes to indicate that it has accomplished full temperature. Start a minute or two before the indication. This way, the steam used is at the correct temperature.
Tip 8: Purging
Always purge your steam wand before and after steaming. Purging prevents water that’s built up in the ends from going into the milk.
How to purge? Put a piece of cloth over the end of your steam wand. Switch on for a second. And the steam will gush out any dirt into the cloth.
Important! Use a thick rug. Else, the hot steam might burn your hands.
Tip 9: Right position of the steam wand
Place the steam wand near the surface of the milk. Do not touch the milk surface. The steam wand needs space to draw air from the milk surface. If you place it too close to the surface, you will create large bubbles. Similarly, If you position it far, it cannot draw enough air.
To get the correct steam wand position, hold it just off-center.
If you use a breville frother, you can check out my guide here for this specific frother.
Tip 10: Select the correct milk type
Soy milk is less bubbly than dairy milk and almond milk. Almond milk is bubblier than dairy milk. So, the winner is soy milk.
However, you can also use dairy milk. Just make sure to learn and nail the techniques. The differences are mainly because of the proteins in the milk, so do not dwell too much on the type of milk. As a matter of fact, with the right technique, you can even froth creamer .
Tip 11: Use the low-high-low technique
Start by placing the pitcher close to the cup. Raise it quickly. Allow the milk in the pitcher to dive into the cup.
You will see the milk running down the crema. (Crema is the foamy puff created on the top. It is not the foam, rather the stage right before foam).
When the cup is about two–thirds full, lower the pitcher. Go in a low-high-low motion till all the large bubbles are burst out to reach the desired foaminess.
The technique is more like inflating a balloon. You let the foam into the crema with the help of gravity.
Tip 12: Swirling
Swirl the pitcher to create a whirlpool motion. You can swirl in a clockwise or anti-clockwise direction.
Make sure you don’t change direction in between. Swirling pops out large bubbles. Also, it mixes the foam evenly throughout the milk creating the desired texture.
Tip 13: Banging
If you cannot remove the bubbles by swirling, try banging. move the pitcher gently onto the working surface. In and out and stir the milk gently. Banging removes large bubbles.
Tip 14: Avoid milk film accumulation
Seldom milk films are formed at the ends of the steam wand. Use a damp cloth and wipe off the ends frequently. Use the rag for this purpose alone. Else, you will end up adding dirt to your latte.
Tip 15: Skimmed milk or Full-cream
Skimmed milk provides a stable foam and few or no large bubbles. However, it doesn’t give you the smooth mouthfeel taste like that of the full–cream milk.
So which one should I choose? If you are a beginner, go for skimmed milk.
After you practice enough, shift to full-cream milk. You shall get the correct foam consistency even with full-cream milk. However, the key is the temperature. It comes with practice.
Tip 16: Do not denature your milk proteins
Denaturing of milk proteins happens when the milk is overheated.
Science behind Protein denaturing
One end of milk protein is hydrophobic, and the other is hydrophilic. Nature is dormant when the milk is cold or warm. But, when the milk is overheated (or during denaturing), the protein ends are exposed and become active, and hydrophilic ends get exposed to water.
Attracted by the water molecules, the proteins leave tiny air bubbles. This weakens the air bubbles, so they merge to form large bubbles.
How to avoid protein denaturing? By heating your milk to the correct temperature (60-65 degrees Celsius). You can even use a thermometer!
Tip 17: Avoid dirt accumulation
Clean regularly. Invisible minute dirt particles weaken the protein–air molecule bonding and aid in large bubble formation. Have separate cleaning clothes for purging and cleaning. Do not use the same cloth you used to wipe a counter for cleaning your steam wands.
Conclusion
The bubbles in frothed milk are annoying and can sometimes ruin the flavor of your coffee. I hope my tips and tricks will help you fix the bubble issues. Use them to make a good frothy cup of coffee. There is nothing tastier than a freshly brewed steamy & fluffy cuppa!